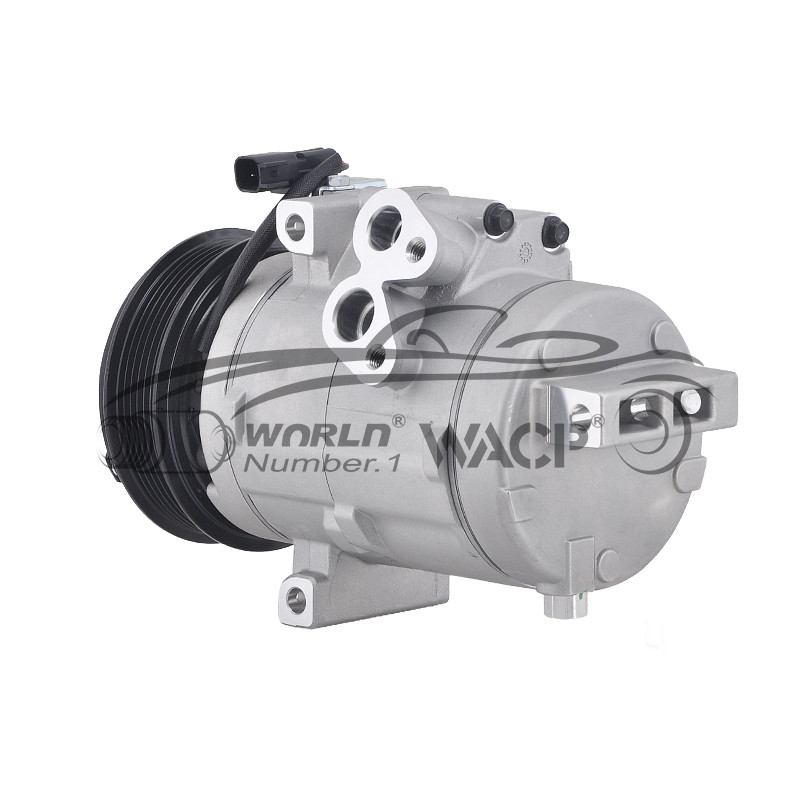
Guangzhou Wei Xing Automobile Air Conditioning Parts Co., Ltd.
Guangzhou Wei Xing automobile air
conditioning parts Co., Ltd. was founded in 1998, is an automobile
air-conditioning compressor factory, 20 years specializing in
automotive air-conditioning compressor production, research and
development, processing services.
Stable quality and professional
services have been recognized and supported by customers in more
than 50 countries all over the world. In order to meet the needs of
customers and better service customers, the company set up sale
shop in 2005, the main sales of own brand "WNRLN" and foreign
well-known brands of compressors and automotive air-conditioning
systems related accessories.
With the globalization of the world and
the development of the Internet, the company began to open the
official website in 2015 to realize the diversification of
online and offline sales,allowing customers to have a better
shopping experience. In the past 20 years, we have developed a
professional technical team and sales team to provide professional
overall solutions and provide the whole set of air-conditioning
design and production services. Professional attention enables
us to go further, and it is our mission to bring China's good
quality to the whole world.
Your Best Choice!
At our automotive air conditioning compressor company, we are
dedicated to providing exceptional service to our customers. Our
service philosophy revolves around three key principles:Service,
Quality Assurance,customer satisfaction.
First and foremost, we are committed to responsiveness in our
customer service approach. We recognize that issues with air
conditioning compressors can arise unexpectedly and may require
urgent attention. That's why we have established a dedicated
customer support team that is available around the clock to address
any concerns or inquiries. Whether it's troubleshooting technical
issues, providing guidance on installation and maintenance, or
processing warranty claims, our team is always ready to assist our
customers promptly and efficiently."After-sales service make
permanent customer".
Secondly,we prioritize reliability in everything we do. We
understand the critical role that air conditioning compressors play
in the functionality of vehicles, especially in hot climates or
during long journeys. Therefore, we ensure that our products are
built to the highest standards of quality and durability. From the
materials we use to the manufacturing processes we employ,
reliability is at the forefront of our operations. Additionally, we
offer comprehensive warranty coverage and after-sales support to
instill confidence in our customers regarding the performance of
our compressors.
Furthermore,We closely monitor market trends and customer feedback
to identify areas for improvement and innovation. By staying at the
forefront of technological advancements, we aim to deliver products
that exceed our customers' expectations and set new industry
standards.
In addition to these core principles, we place a strong emphasis on
building long-term partnerships with our customers. We believe that
open communication, mutual respect, and trust are essential for
fostering successful business relationships. We actively seek
feedback from our customers and use it to drive continuous
improvement in our products and services. By aligning our goals
with those of our customers and working collaboratively towards
shared success, we aim to create value and sustainable growth for
both parties.
We aim to be the preferred choice for automotive air conditioning
solutions globally.


